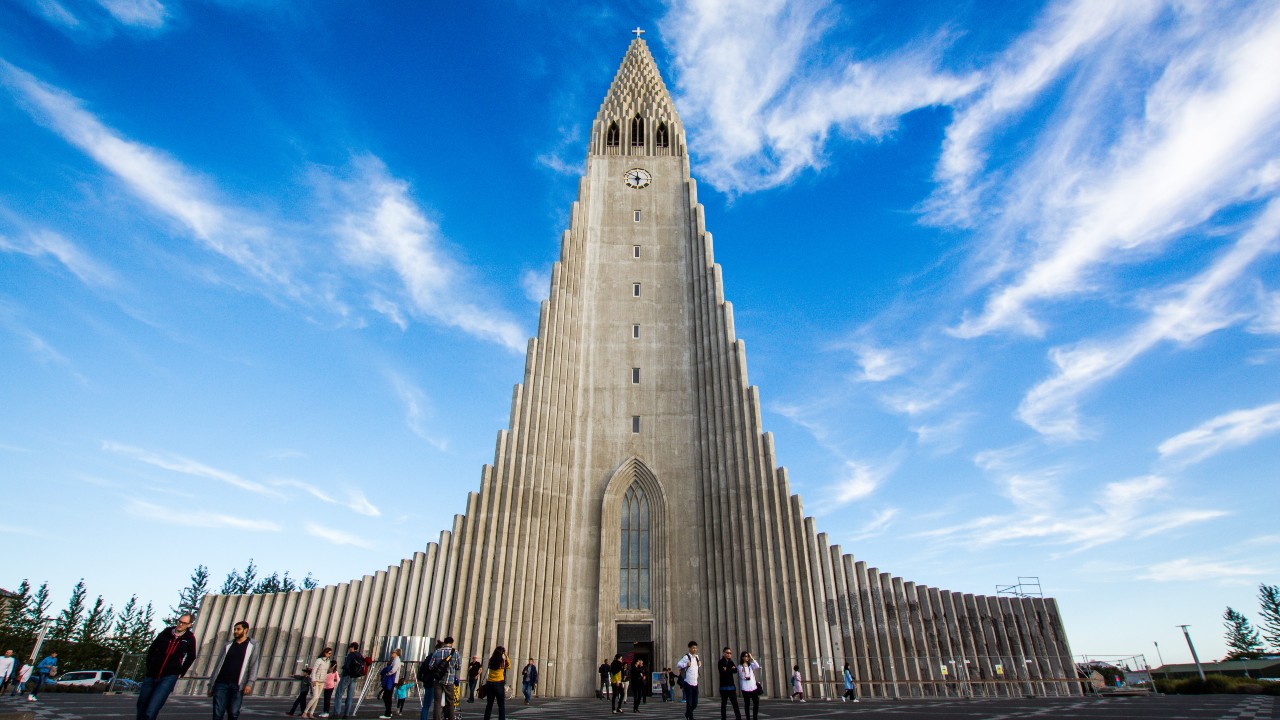
Photographing the Northern Lights in Iceland
Photographing the Northern Lights in Iceland is a dream of many artists, amateur and professional alike. Find out how to capture the magic.
Photographing the Northern Lights in Iceland
Photographing the Northern Lights in Iceland is a dream of many artists, amateur and professional alike. Find out how to capture the magic.
Few natural treasures are as magical and otherworldly as the Aurora Borealis.
Photographing the Northern Lights in Iceland is an activity that many would love to attempt. Very much like its subject, however, Aurora Borealis photography occurs under very specific circumstances that must be recreated in order to function. Key to this process- it is important to know that nighttime photography includes a bit more legwork than typical daylight photography, especially if you are primarily used to using an automatic setting on your camera, or device.
First things first: Preparing yourself for the aurora hunt
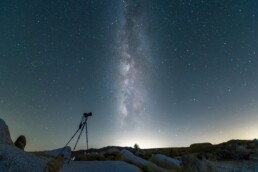
In previous posts, we talked about when you can see the Northern Lights in Iceland, and the best places to see them while you are here. It is a good idea to get your planning sorted before going out. Is your gear together? Are your batteries all charged up? Have you checked the auroral and weather forecasts? If there is some solar activity, and an area of clarity that you can reach, it is probable that you can find auroral activity. Despite their reputation of rarity, Northern Lights do happen fairly often within the correct season. (It is just up to the cloud cover and the strength of the occurrence on whether or not we can view them.)
Northern Lights occur well above our weather system (the troposphere layer of the atmosphere), so while the weather does not inhibit them from happening, too much weather could get in the way of our watching.
Is it possible to view Northern Lights with the naked eye?
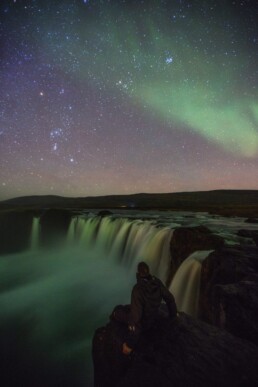
It is! We have all seen the almost neon photos of auroras stretching across the sky- but do they really appear that way to the regular viewer? The truth is that they do vary by person, occurrence, and who, or what, is looking.
What we mean by this is that auroral light that appears colored can be perceived differently by multiple people, even if they are watching at the same time. Depending on your own vision and your color-processing ability, you may view a different shade than the person next to you, and unless you compare notes- you wouldn’t even know it! This is not likely to be a huge differential, but, don’t forget to check with your fellow hunters, for fun.
And of course, the big note- who or what is watching. (Yes, what!) When we watch the lights with the naked eye, our eyes are doing the best that they can in the darkness, to view a dimly lit source of moving light. As I’m sure you know, we don’t view this type of thing very often in our everyday lives, and so we are not entirely designed for this. The difficulty here is how our eyes are made, and how they work.
Our eyes use their cone cells to process color best during the day, when there is a surplus of light to illuminate things. At nighttime however, we process less color due to the rod cells in our eyes taking over, so that the color-processing cone cells can have a break. Rod cells are not focusing on color, and so while they help us function in the dark, they don’t necessarily provide us with the wide range of color that we might have access to during the day, or in a brightly lit place.
This does not mean that we won’t see color in an auroral occurrence, but it does mean that the color may appear less saturated, and that the finer pieces of the aurora may not be as easy to pick out as they will be for a camera (the “what”!).
Cameras of course do not have this issue, as their “eye” sees without the aid of cells. They are able to employ the use of long exposures and heightened ISO functions in order to capture what is going on. These settings belong to the manual workings of all cameras, and in order to take Northern Light photographs, we manipulate them to “see” in the dark. When you’re out aurora hunting, your camera is your very best set of eyes.
This is an important thing to be informed about, as auroral activity can be varied and unpredictable, and it can be challenging to always know whether you’ll see an occurrence that manifests with great vibrancy, or a weaker occurrence that will take more aid to see clearly. The forecast helps us predict this, but it is still very much a developing tool.
The camera helps us see far beyond what our eyes are capable of- and it can be exciting to know that on nights when it is hard to pick out, sometimes the lens can still do it for us- so always check first with a test shot if you’re not sure!
There have been many nights where a wispy looking dark cloud or a greenish smoke on the horizon actually turned out to be a small aurora, magnified under the lens of a correctly set camera. A guide that has seen many of these sneakier occurrences will often recognize it as such, but if you are new to this phenomenon, you may walk right by.
What kind of device can I capture Northern Lights with?

All devices are not necessarily capable of this kind of photography- so it is worth double checking before you plan a trip out.
Some of us may remember back when all cameras worked manually. Of course now we have automatic options- which can be easy to forget about, now that many of our more portable devices default to an automatic setting. Because we often photograph things in lit places, these settings are typically assuming that there is daylight, or a light source. When there isn’t, these devices employ the flash.
When creating a nighttime photo of Northern Lights, we want to always avoid flash photography. This function will illuminate the immediate foreground in front of you, but it will make it impossible to catch the actual sky. (You’ll end up with a photo of a few meters of the ground, and a flat black background.)
Instead, the ideal is to always attempt this kind of photography on the manual setting.
You will want to check that your device is capable of this, as these days, some no longer are.
DSLR and SLR cameras come with a manual mode, denoted by the “M” on your setting or mode dial. Some smartphones now also employ a manual or “pro” mode in their settings, as do some devices like GoPros, and various hand cams. At the time of writing this article, many smartphones now offer a night mode setting that is capable of catching an aurora shot of moderate strength on their own, with little to no aid!
If you plan on making aurora photos with your smartphone, know that it is increasingly more possible now than it has ever been before, but currently it will still not match the quality of a DSLR/SLR device.
Depending on the specific make of phone that you have, there will be a different process to create these images. You may have a built in manual mode in your phone settings, or, you may have to download a manual camera application, in order to access these functions.
(Tip: Many popular point-and-shoot models do not offer a full-manual mode, so make sure to check this early! You can research your camera model or check your device manual to find out, but a quick way to see is by attempting to adjust the ISO and the shutter speed.
If the camera “tethers” these two functions together and only allows one to reach a maximum level, then you may want to have a back-up device handy, in the event that you need a bit more capture help. It may still be possible to get a photo with a camera like this but it may be challenging to capture a weak auroral manifestation with it.)
The device that you are using likely requires some prior set up in order to be able to make this kind of photo, so it is important to check this out before you’re on the hunt. You never know when the aurora will spring, and it can be stressful to set your device while the show is on. (Not to mention cold and dark! The less time spent pulling gloves off, the better.)
PLAN YOUR JOURNEY
Travelling to Iceland?
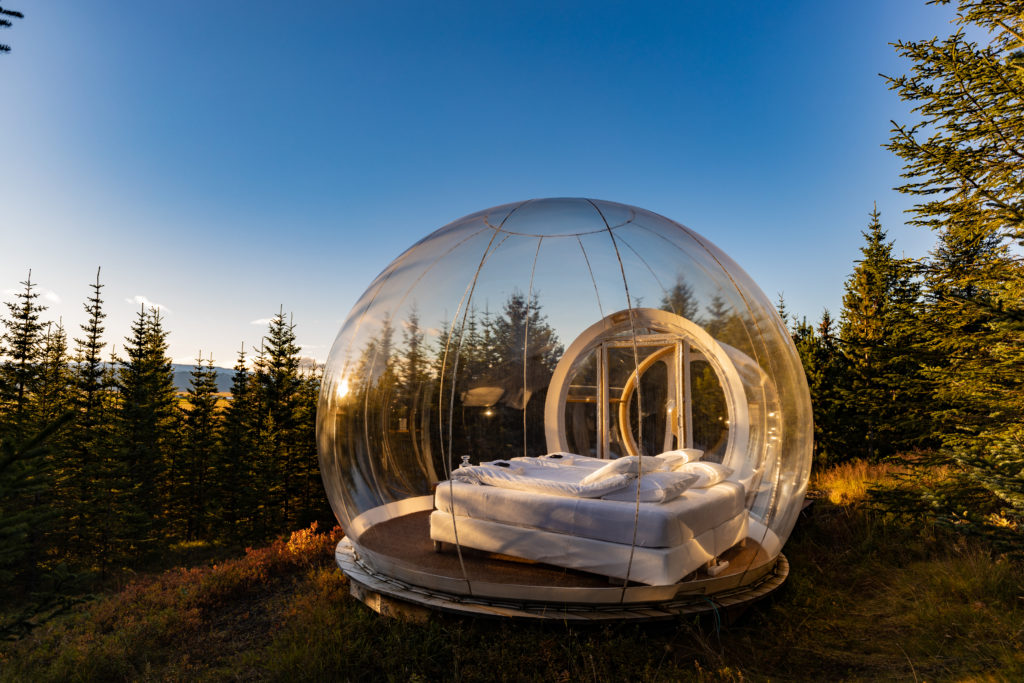
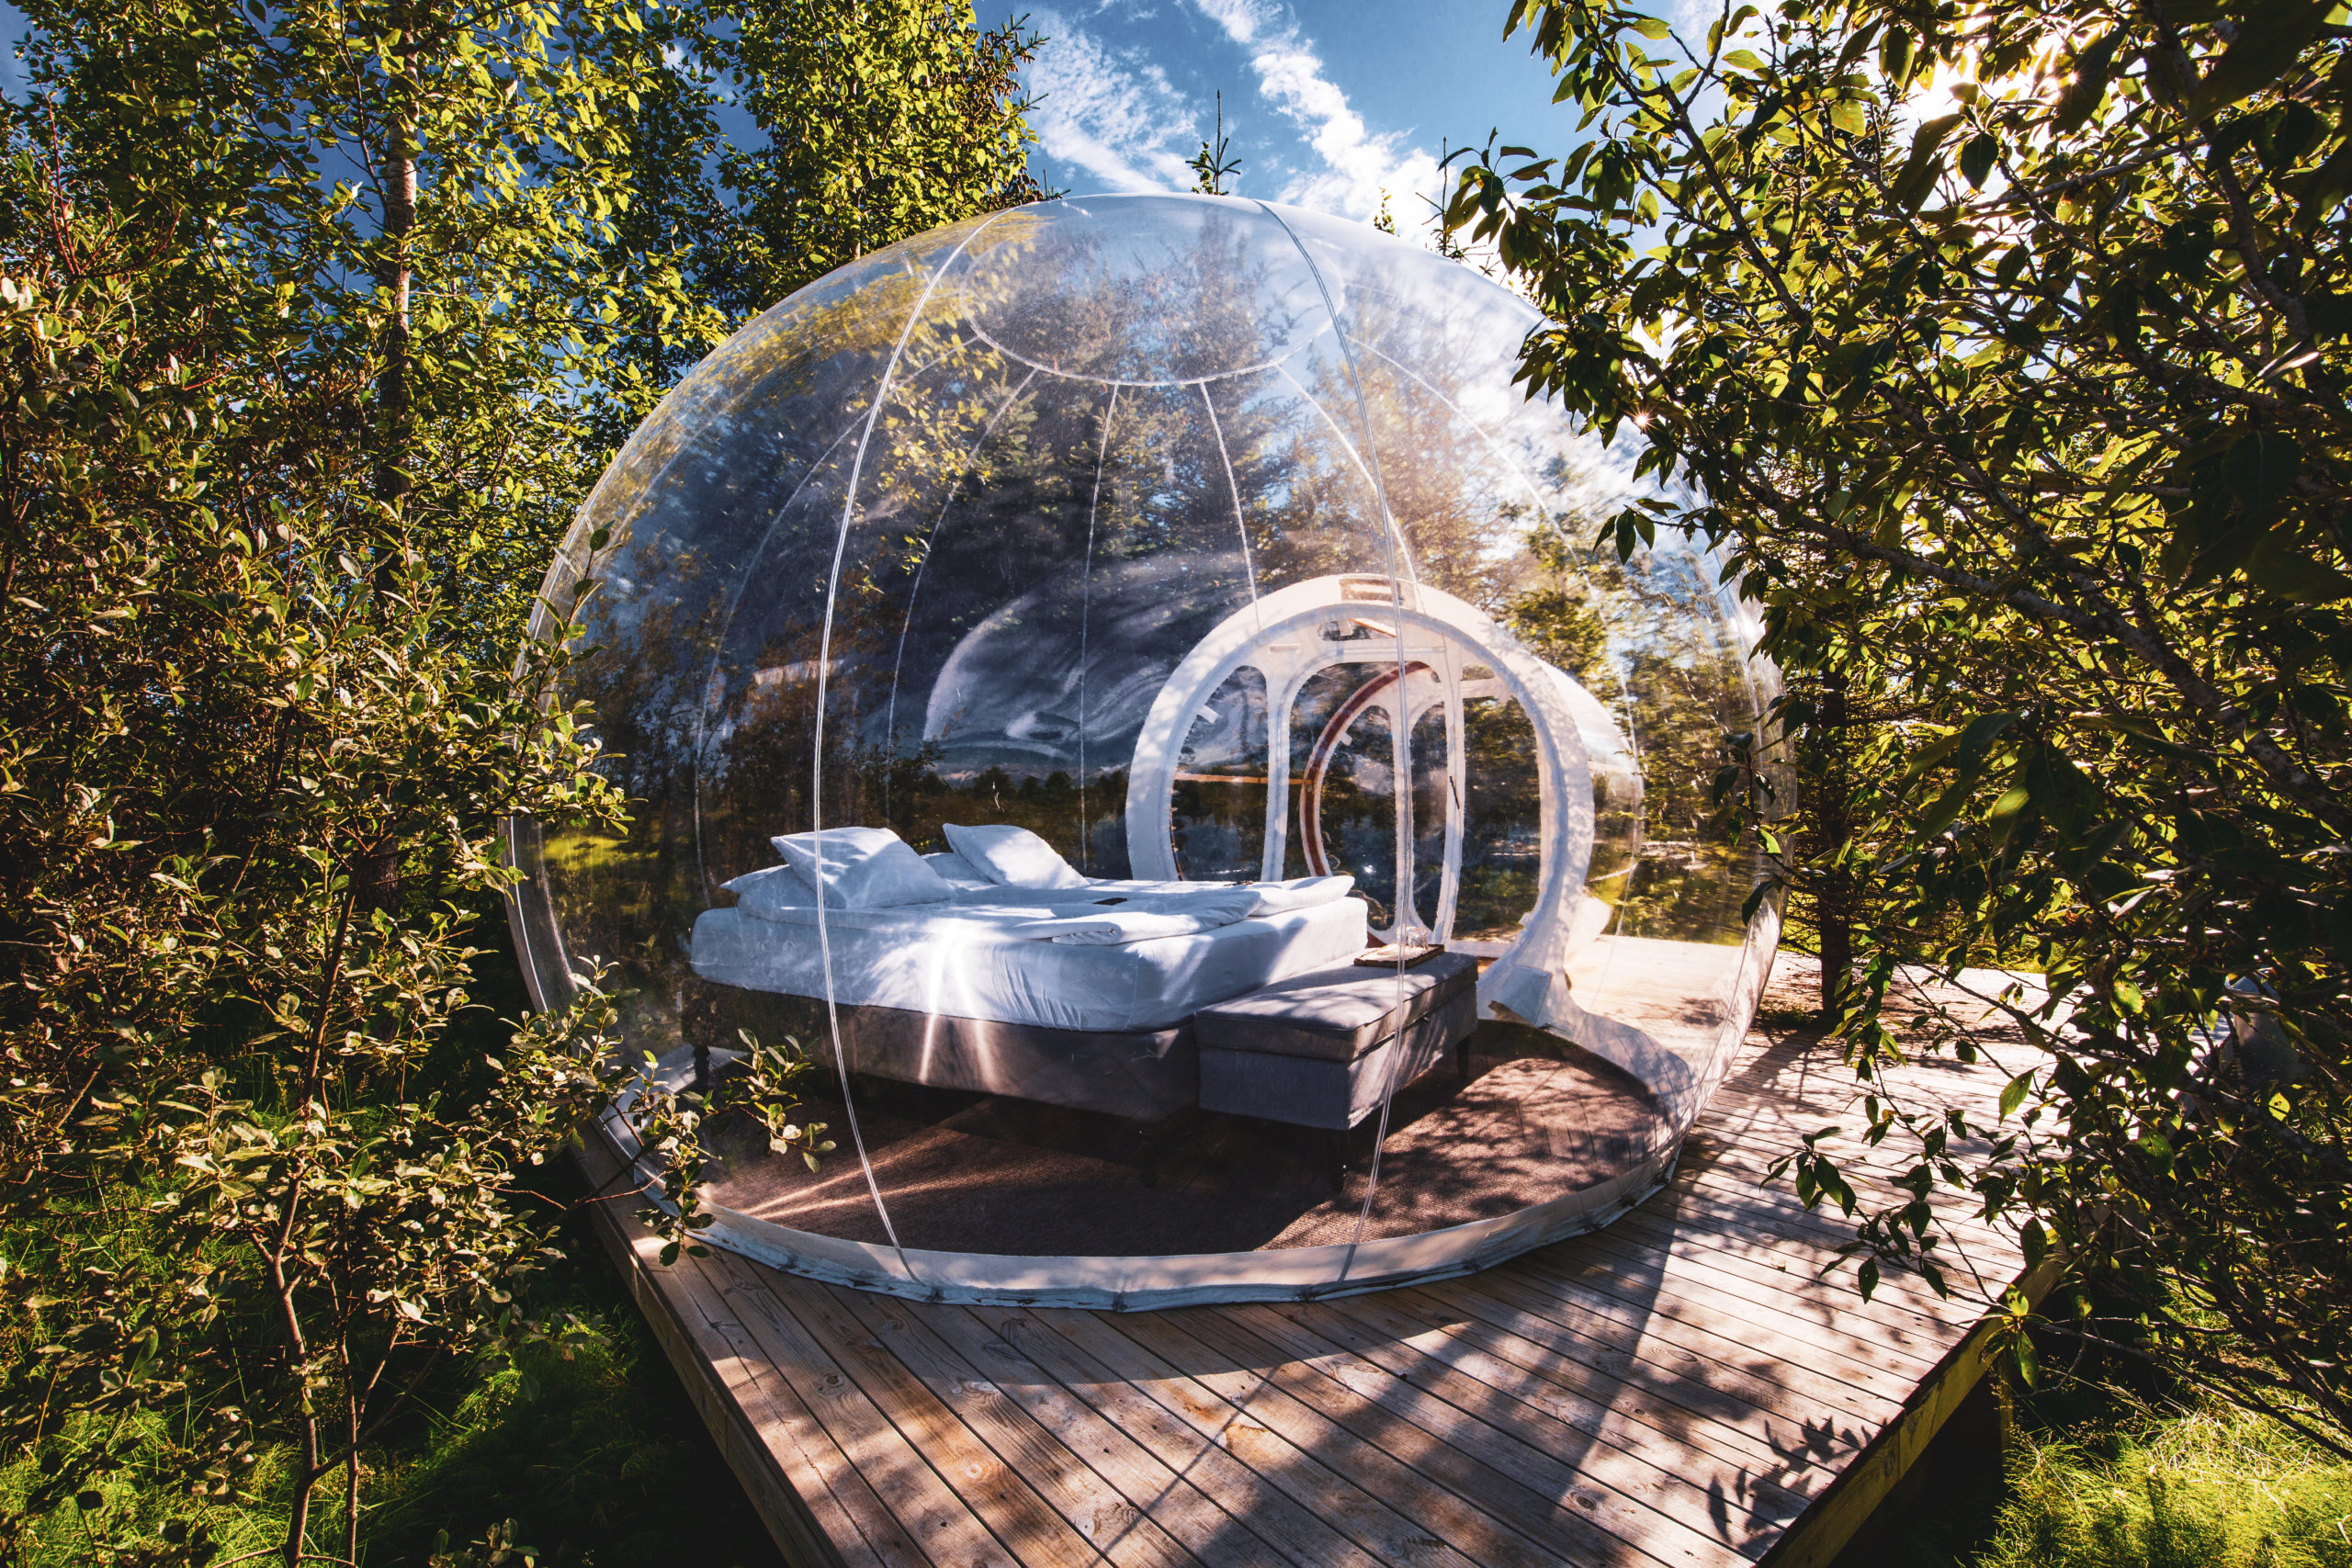
Check our overnight tours with a driver guide that includes a one night stay in a bubble.*Starting from ISK 74.900 per person
Can I film an aurora?
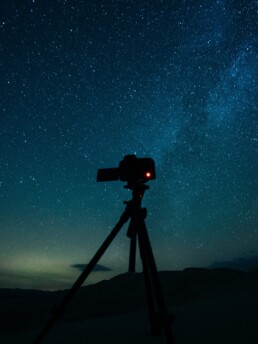
It is possible to film the Northern Lights, but it can be challenging. Not all video cameras are designed to capture nighttime images without the aid of a flash or additional light source. Just like with photography, you will need to apply specific manual settings so that the camera can see the low lumen of the auroral light in the darkness.
This is fairly simple to do with most cameras for photos, but not all cameras offer this option with their video mode, as the video mode is limited on most basic devices. These cameras are assuming that you will mostly be filming in lit places, and so they don’t necessarily offer you the manual settings to change that. (I suppose we don’t often need to film in the dark very often!) In order to video an aurora, you will need a device that allows that kind of manipulation. There are now cameras available for this kind of shooting, but they are not typically novice machines.
However, due to the advancing technology of many smartphones and handheld adventure cams, very strong auroral activity can sometimes be captured in varying quality on video. This quality will likely not match professional video that you have seen, but, it can now be done under the right circumstances.
If you are dreaming of aurora videos, an easier way to accomplish animation is through time lapse! Time lapse occurs when one takes multiple photos in quick succession and then puts them together like a slide show. This is a popular way to show animation of an auroral occurrence and only requires photographs to work. Time lapse photography is a hobby unto itself, so if this is a thing you would like to try- it may be prudent to read up on the process beforehand to be prepared.
Camera Settings
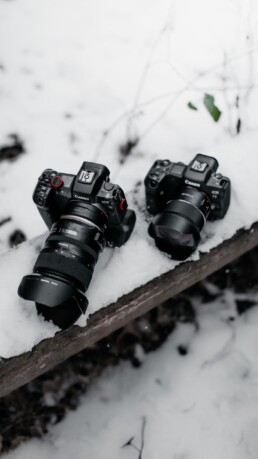
Onto the important information! Now you’ve charged all your devices you know about the forecast, and maybe you’ve even picked out a spot! It’s time to prepare your equipment.
If you are using a traditional DSLR/SLR camera, or a device that has a regular manual mode, the primary functions that you will be looking for are shutter speed, ISO, aperture, and, white balance. These functions all work together to make the image, so know that when you adjust one, you may need to adjust another.
Each aurora is different, and so it is best to become comfortable with the location of these settings so that you can adjust accordingly, depending on your scene. Many of them have their own buttons or dials, or can be accessed via a digital menu.
This can vary depending on the camera you have, but many of these things share similar icons. Despite pre-setting your device, as your subject changes, so must you. A bright aurora may only need a few seconds of extended shutter, while a weaker manifestation may need much more. Be ready to experiment with this, to get that ultimate shot!
(Tip: These settings all have their pros and cons with adjustment! If an aurora is moving quickly, too long of a shutter speed may create a blurrier subject than you actually saw. If the shape pattern of the aurora is very spiky and sharp, you may want to employ a shorter shutter speed in order to capture that vision, and to avoid overlapping the shapes as the camera processes.
When a long shutter is in use, the camera is essentially layering everything that it sees, so the aurora may overlap with itself as it dances, if you give the camera long enough to take the photo.)
We recommend the following settings:
Shutter Speed: Anywhere from 1-30 full seconds. (You can start with a few seconds and create a test shot, to see if you need more help or not. The higher the number here, the brighter the image. (Be careful of possible overexposure!) If you are viewing a weak aurora, you may need the assistance of a higher shutter speed.
If you are doing a time lapse, you may want a lower shutter speed and a higher ISO, so that you can capture a more seamless stream of animation.) And if you want to be IN the photo- make sure that you hold the pose! The camera will create the photo for however many seconds you set it for, so if you move during that time frame, you’ll just be a blur!
(Tip: Having trouble setting your shutter speed? Not sure why the image is over dark, or isn’t coming out right? Double check and make sure that you have set the camera to FULL seconds, and not a fraction of a second. Depending on the brand of camera, they may have a different way of showing this metric, but typically full seconds of shutter speed are denoted by a ” symbol, after the number. Ten whole seconds of shutter would then look something like this: 10″.
If your shutter speed looks like a fraction, you are employing a faster shutter than we need, even if it has a 10 in it. This is an easy mistake to make, so when you’re setting that dial, make sure you scroll all the way to the whole numbers at the end, because that is the range we’re looking for when we create nighttime photos.)
ISO: This function controls how the camera perceives light. You would use this setting to make a natural-looking photo in a darker place, like a theatre. To give you some context, a regular daytime photo has a typical ISO of around 100-200. For Northern Lights, we recommend a minimum of 800. Many cameras have a different scale of how high their ISO goes, so the maximum on your device may differ for you.
Many basic DSLR cameras stop around 6,400, which may be too high for what you will need. This setting and the shutter speed setting work together to create the image and manage how the light is perceived, so it is good to be comfortable with adjusting them both together. You can increase the ISO to brighten the image, but know that an ISO that is too high will create a grainy image, so be careful here. If you have a good showing going on, try taking a few shots with different settings, so that you have something to pick from later.
Aperture or f-stop: This function controls how much light the camera brings in. For this type of photography, we are looking for a lower f-stop, which is how aperture is measured. Depending on your lens, you may only be able to go as low as f/4. This, or lower, is acceptable, but if we can achieve a lower number, that is ideal. The lense controls the aperture that you can select, so don’t be alarmed if yours can’t reach the 1-2 range.
(Tip: Having trouble adjusting your aperture? You may be zoomed in on something! When holding down the aperture button, or however you typically change this setting on your device, you may have to manipulate a dial in order to lower or raise this number. If you know that it can go lower, but it seems stuck, try returning your lens to its regular zoomed out position, and try again.)
White Balance: This is a subjective choice, and is widely up to you. This function will change the color “temperature” of your image. This is an easy way to correct a strange colored image, so try this first if you find that your photos are too blue, or too orange. Many landscape photographers are said to prefer the daylight setting, but my favorite is tungsten/incandescent.
These can be denoted by icons, temperatures (in Kelvin), light source examples, or reference names. You may see all of these, or only a select few employed on your device. You will want to make sure that you don’t leave this function on AUTO unless you are shooting in RAW, because the camera will not be able to regulate very well on its own, in this context.
During the day, an automatic white balance can be a great tool. If you are using the RAW mode to create your images, you can adjust the white balance later in editing software.
Important extra tips:
- Don’t forget your tripod! Long exposure photography requires complete stillness. If you are holding the camera for the time that it is processing the photo, your movement will blur the image, even if you think you are being still. It’s amazing how much we actually move, without even realizing it! If you don’t have access to a tripod, try bracing yourself on a surface, or setting your camera on a table. Be extremely careful of your device, tripod or not- as the wind in Iceland can be a serious force to be reckoned with! The wind has claimed many cameras on tripods, and nothing is sadder than a cracked lens on a photography trip. Stay vigilant!
- Charge your battery! The cold wears out lithium batteries, so make sure you’re setting out with a full charge. (If you think you’ll be out long, it isn’t a bad idea to have a backup.) If you find yourself losing juice at the last minute, try warming the battery in your pocket, or keeping your camera inside your jacket when you aren’t using it. And don’t forget the hand warmers! They can help in a pinch.
- Focus! We leave our lenses on AF, or automatic focus, during the day. This works great! Just like us, cameras see pretty well during the day. When shooting auroras, however, this can be a struggle, as the camera won’t immediately know what to focus on. Make sure you change your lens to MF or manual focus, when creating nighttime photos. Don’t forget that in MF you’ll have to focus yourself with the focus ring on your lens, so make sure to adjust that before you take your next photo. You can do this by focusing on a light in the distance- like the moon, a headlight, a streetlight, or a far off town. In situations of true darkness, have a friend hold up a smartphone from a distance away. You can also use infinity mode, if your device supports it. You can tell if you have this function by checking the manual for your device model, or by the infinity symbol on or near your lens.
- Self timer: Want to be in the shot? Or, just want to give your camera a few minutes to stabilize after you’ve pressed the button? Set a self timer! It has saved many shots from a quick accidental hand-knock.
- Lenses: What kind of lens should you use? We prefer a wide angle, because auroras are BIG! 14-50mm is a favorite, but the widest angle you’ve got will do. This is not likely to be the best moment for a zoom lens. (Though- no matter what advice you’ve been given, it’s always worth trying all of your ideas. Photography is an art form, and an eternal series of experiments, so it is important to try everything. You never know what will make that once in a lifetime shot!)
- Will the moon ruin my shot? Likely not. A full moon can create a surprising amount of light, and that can complicate things- but more often than not it creates a really spectacular foreground for images. If you’re not sure what the moon phase is on the night that you’re planning a hunt, you can check here: https://www.timeanddate.com/moon/phases/
This is also a great resource for figuring out when the optimal darkness is occuring at any time of year. Iceland has a fairly extreme dark/light cycle, so this can be a great tool for making sure you’re well in the dark. - Composition tip: Try planning a visit to a lake! Still bodies of water or ice can make amazing mirrored reflection shots.
So now that the secrets are revealed, you’re ready to get out there and shoot! Make sure you’re warmly dressed, and don’t forget to share your photos with us at @bubbleiceland. And don’t forget to visit us! You can after all shoot right through the bubble, from the comfort of your own bed. Can’t beat that!
PLAN YOUR JOURNEY
Travelling to Iceland?
Check our overnight tours with a driver guide that includes a one night stay in a bubble.*Starting from ISK 74.900 per person


